Meta CAPI (Conversions API) allows Shopify merchants to send conversion data directly from their servers to Meta. It helps track first-party data from websites.
Analyzify's Facebook Server-Side Tracking (Meta CAPI) enables you to track important customer interactions, such as page views, add to carts, and purchases, more reliably by bypassing browser limitations.
Before you start, here’s what you need to know:
Since Facebook's native app pixel tracking operates in a headless structure, it sends the same events to all other pixels in your store. This can cause duplicate event tracking for other pixels in your store.
For this reason, it is not recommended to create a new Pixel ID and run Analyzify’s Meta pixel tracking in parallel with the native app. Instead, you should disable the native app and set up Analyzify using the same Pixel ID.
This logic also applies to any other tracking tool - using multiple tools for the same pixels simultaneously is not recommended.
When you're working with our implementation team, please use this tutorial to grant access to Facebook Events Manager .
Meta Client-Side Tracking with Analyzify
Meta recommends using both client-side and server-side tracking for the best results. You can configure the Meta Pixel (client-side) by using Analyzify's Direct Integrations or Google Tag Manager.
Through Analyzify's Direct Integrations, it's easy and quick to set up Meta Pixel:
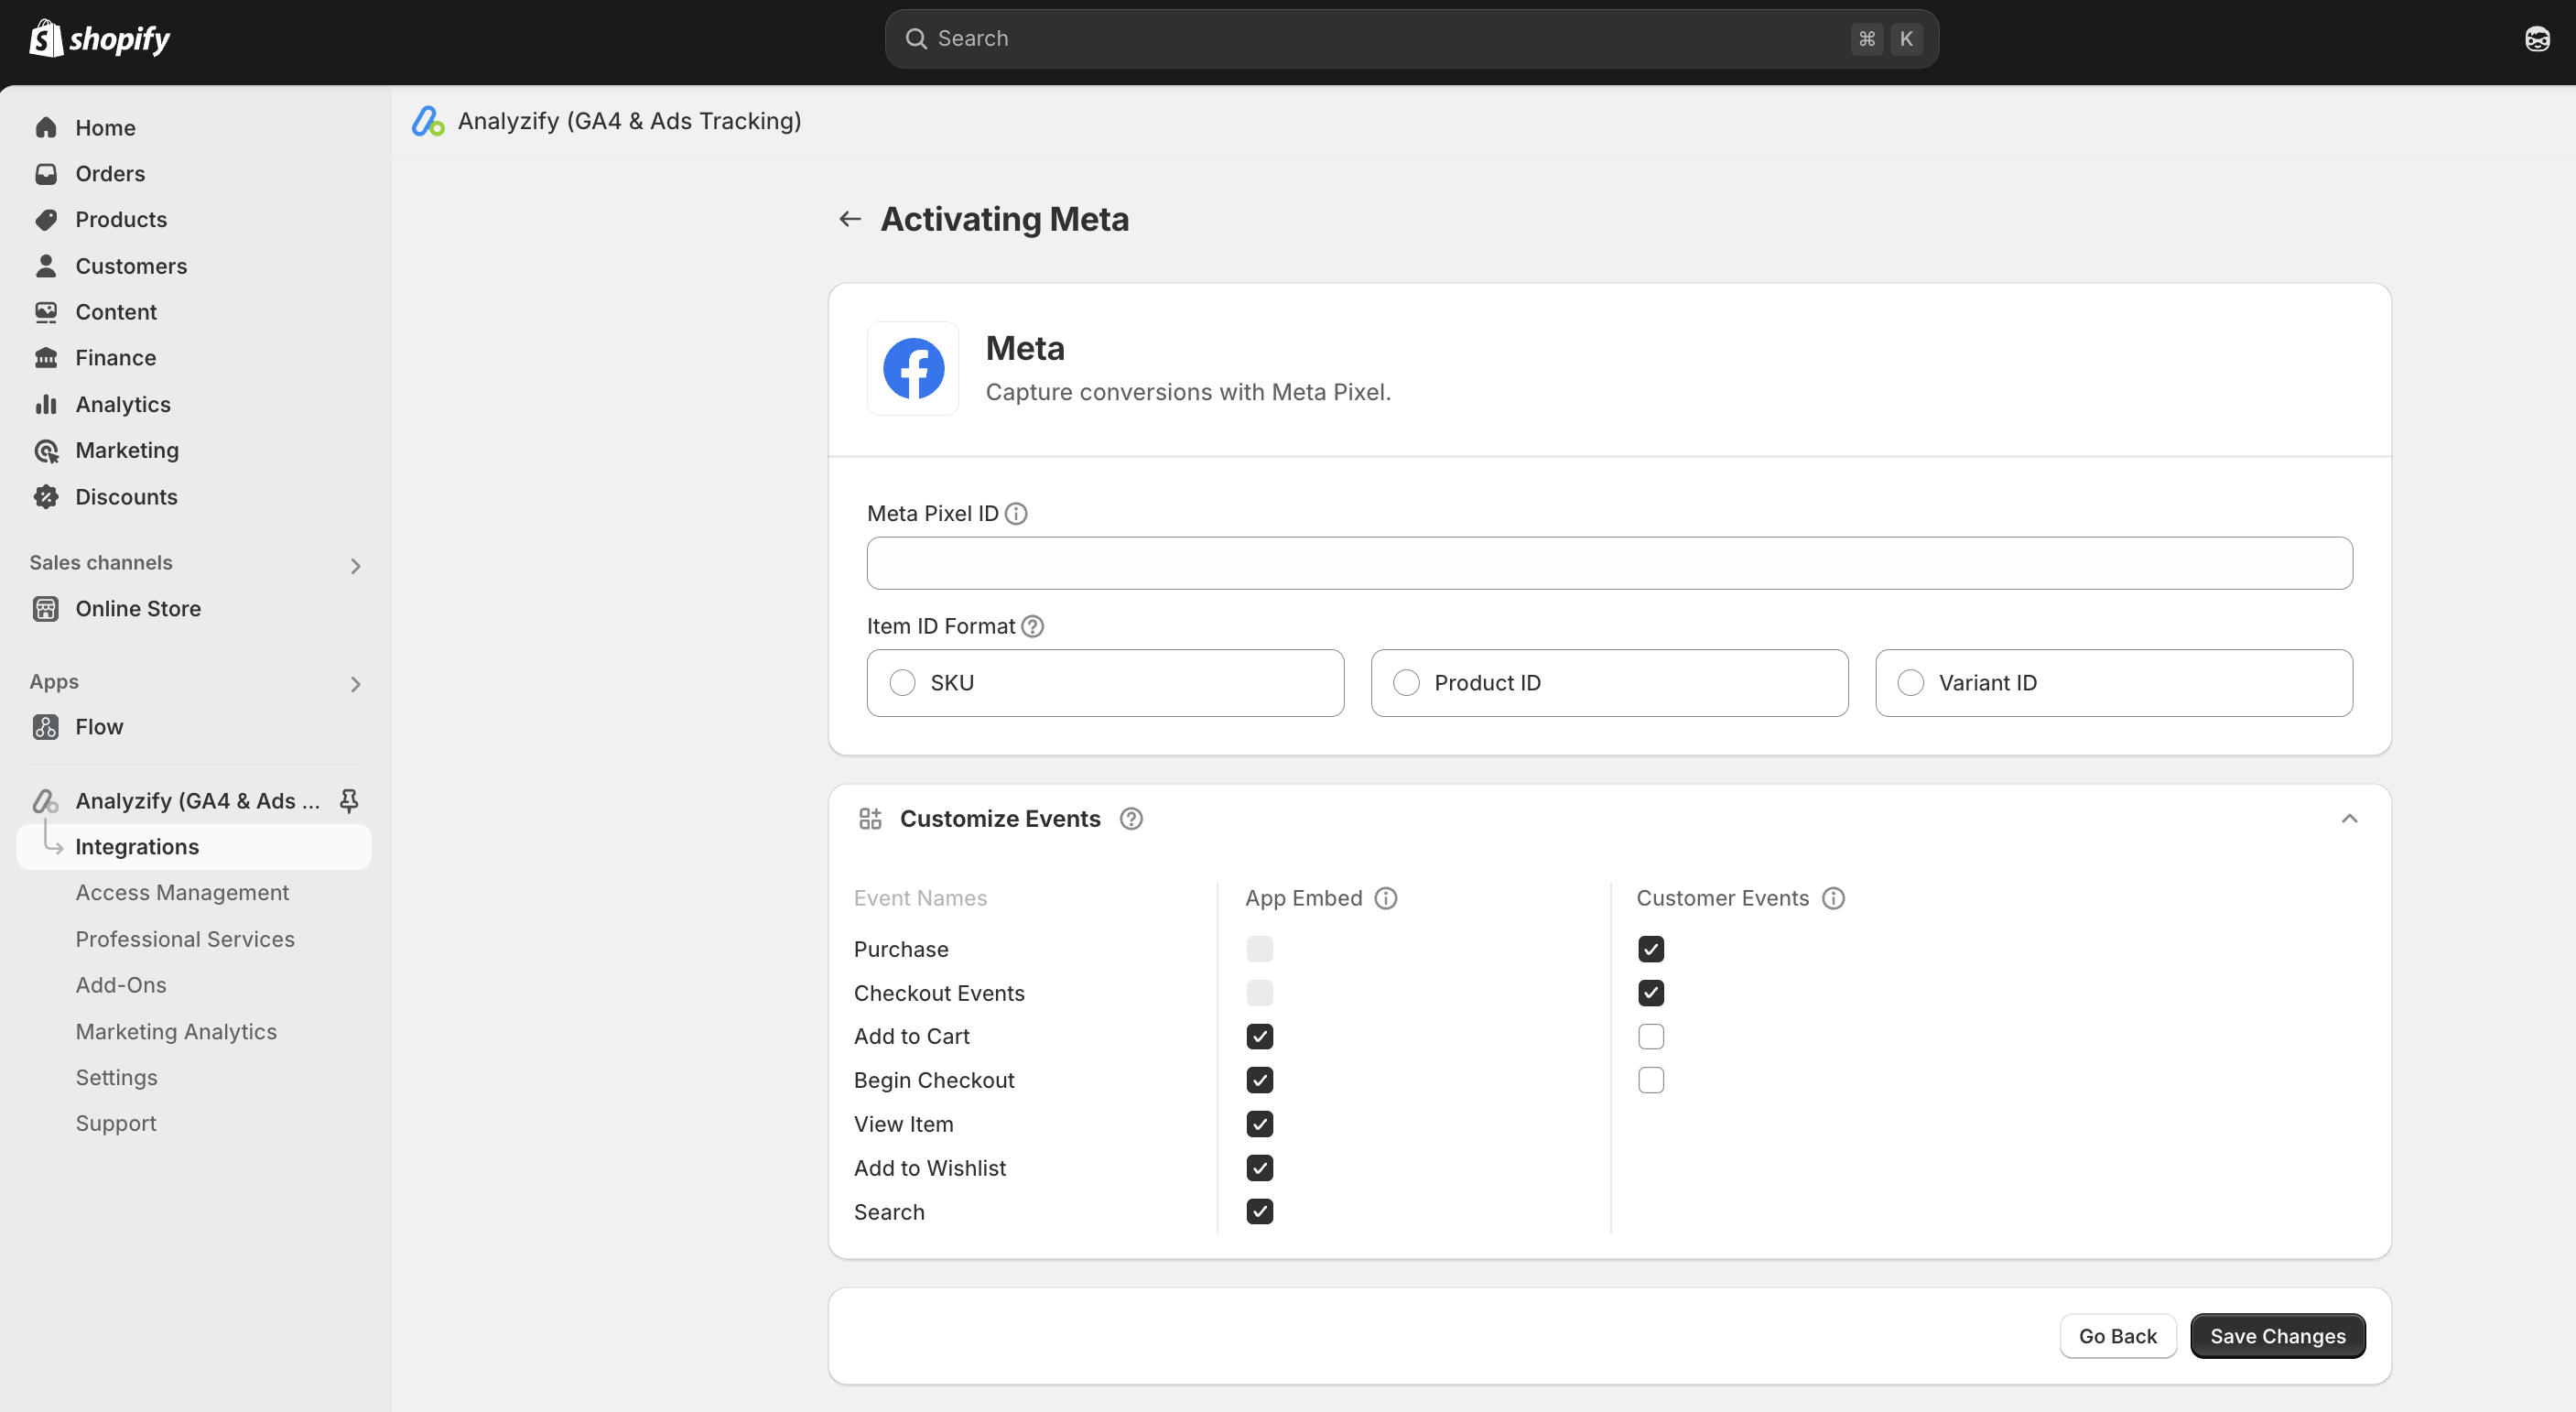
Step 1: Provide Meta Pixel ID
To complete your setup, the most important detail you need is the Meta Pixel ID. In the Events Manager, you can view all your data sources and newly created Pixels.
How to Find Meta Pixel ID
Meta Pixel ID helps you track important customer actions on your store, like page views, add to carts, and purchases. This data enables you to measure your ads’ performance and build targeted audiences. To find your Pixel ID:
- Go to Meta Ads Manager
- Click on Events Manager in the main menu
- Select “ Pixels ” from the left sidebar
- Your Pixel ID will be shown as a number (e.g., 1234567890)
Don’t have a Pixel yet? Follow Meta’s official guide to create one .
Step 2: Check Content ID format
Then, select your Content ID format : Product ID, Variant ID, or SKU . Make sure the selected format matches the IDs used in both your catalog and website to ensure accurate tracking.
👉 Follow this guide for detailed instructions.
Step 3: Add Analyzify Meta Pixel
Proceed by adding the Analyzify Meta Pixel to track Purchase and Checkout events. Detailed instructions will be provided within the app. Then, finish your setup.
Disabling Facebook & Instagram Sales Channel
To use the Meta Conversion API through Analyzify, you must turn off the data tracking feature of your native app (Shopify's Facebook & Instagram sales channel) if you're using it. This prevents duplicate data collection.
Please note that you don’t need to disable or delete the Facebook Sales Channel app entirely—you can still use the native app for pushing product catalogs and links.
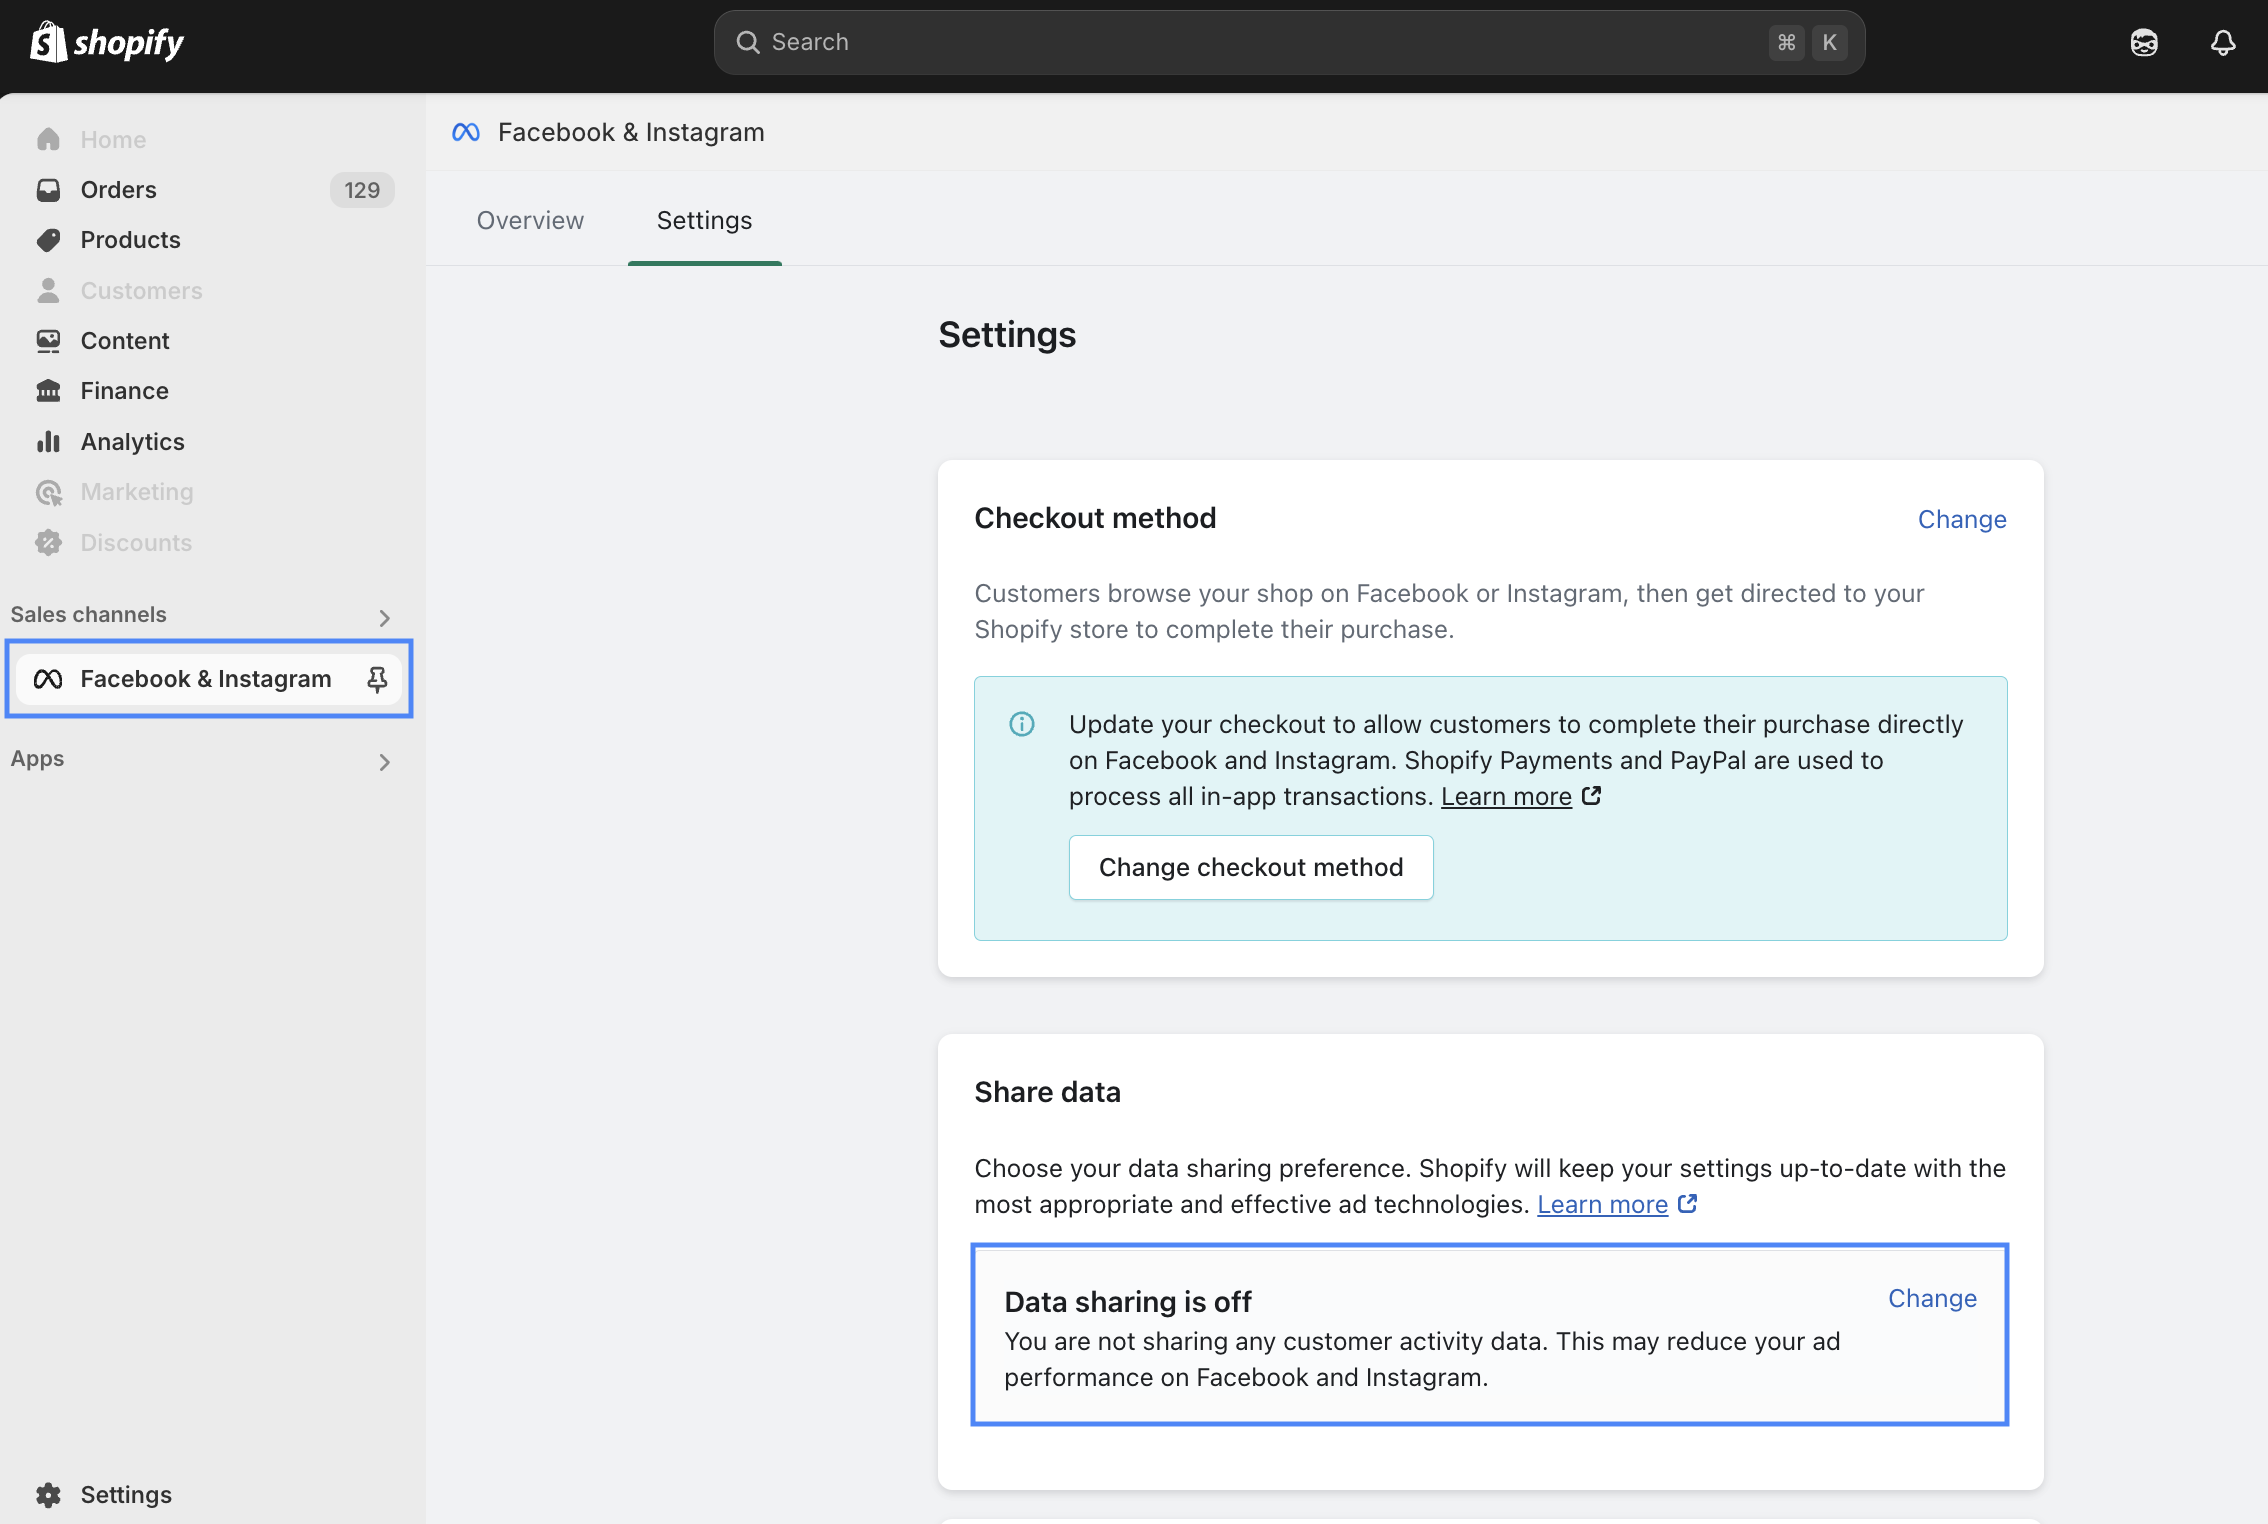
To turn off the data tracking part, please follow these steps:
This ensures that your Meta Conversion API setup via Analyzify runs correctly while keeping your catalog and link-sharing functionality intact.
How to Set Up Analyzify's Meta Conversion API
Once you have disabled the other tracking tools and set up client-side tracking for the Meta Pixel, you're ready to complete the integration by following the steps to configure the Meta Conversion API via Analyzify. 🎉
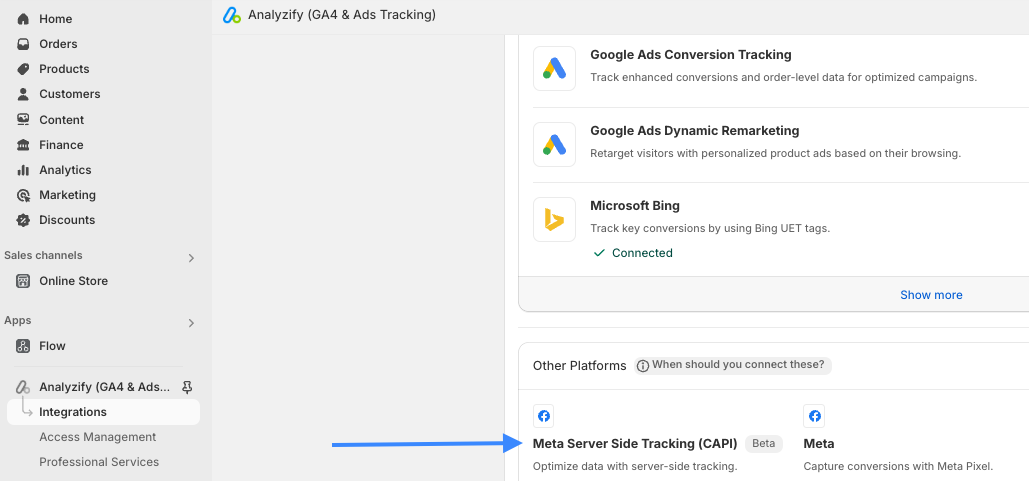
Here's a step-by-step tutorial to configure Meta Server Side Tracking through Analyzify:
- Navigate to Integrations within Analyzify.
- Click Connect under Meta Server-Side Tracking (CAPI).
- Go to Meta Ads Manager.
- Click on Events Manager in the main menu.
- Select Pixels from the left sidebar.
- Your Pixel ID is displayed as a numerical value (e.g.,
1234567890). - Use the same pixel ID in the client-side and server-side setups.
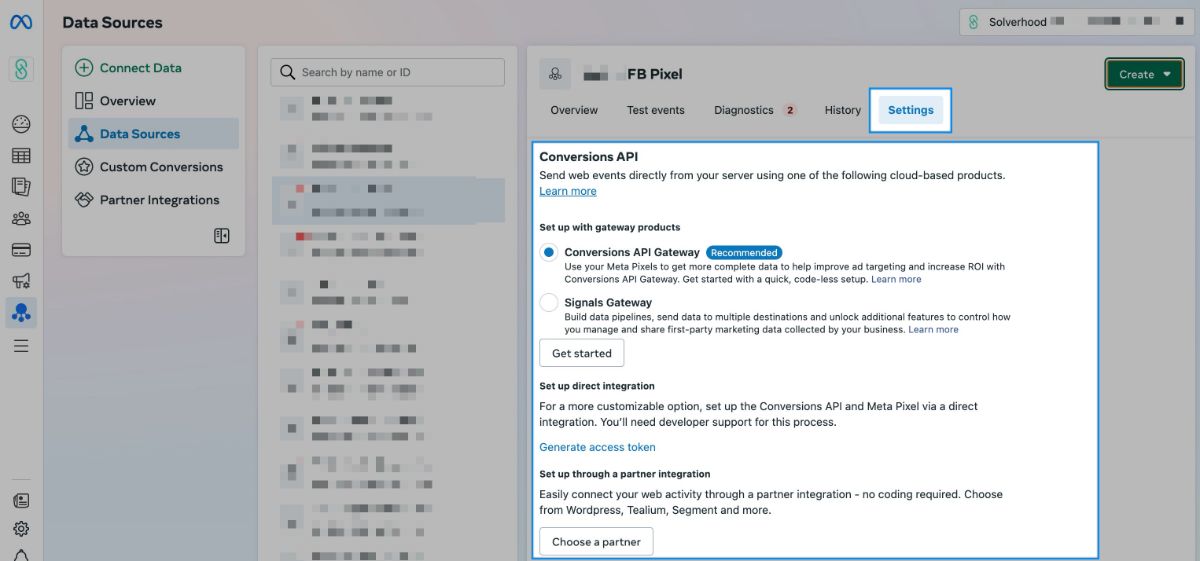
The Pixel Secret is required for secure data transmission.
- In Events Manager, go to your Pixel Settings.
- Scroll to the Conversions API section.
- Generate a Pixel Secret and copy it for integration.
First of all, please check your content ID in Facebook - Meta, and use the same while setting up Analyzify.
The Content ID acts as a unique identifier for your products, allowing Facebook to match your website’s events with its catalog.
You can follow this guide to verify ID format: Find Content ID Format in Facebook Catalog
You will be prompted with Privacy & Data Processing Notice:
Analyzify collects and processes user data through a secure code snippet to enhance tracking. The following data may be stored on Analyzify’s secure database only with user consent:
- Device Information
- Location Data
- User Cookies
- User Activities (e.g., page views, add_payment_info)
- User-Provided Data (e.g., email, phone number, address)
➡️ If consent is not given, no data will be collected. Some data may also be stored in the Order Note Attribute for tracking purposes.
Follow the on-screen instructions to add your Analyzify Server-Side Pixel Code.
Ensure the Pixel is added only once to avoid tracking issues.
Update your Pixel settings if necessary.
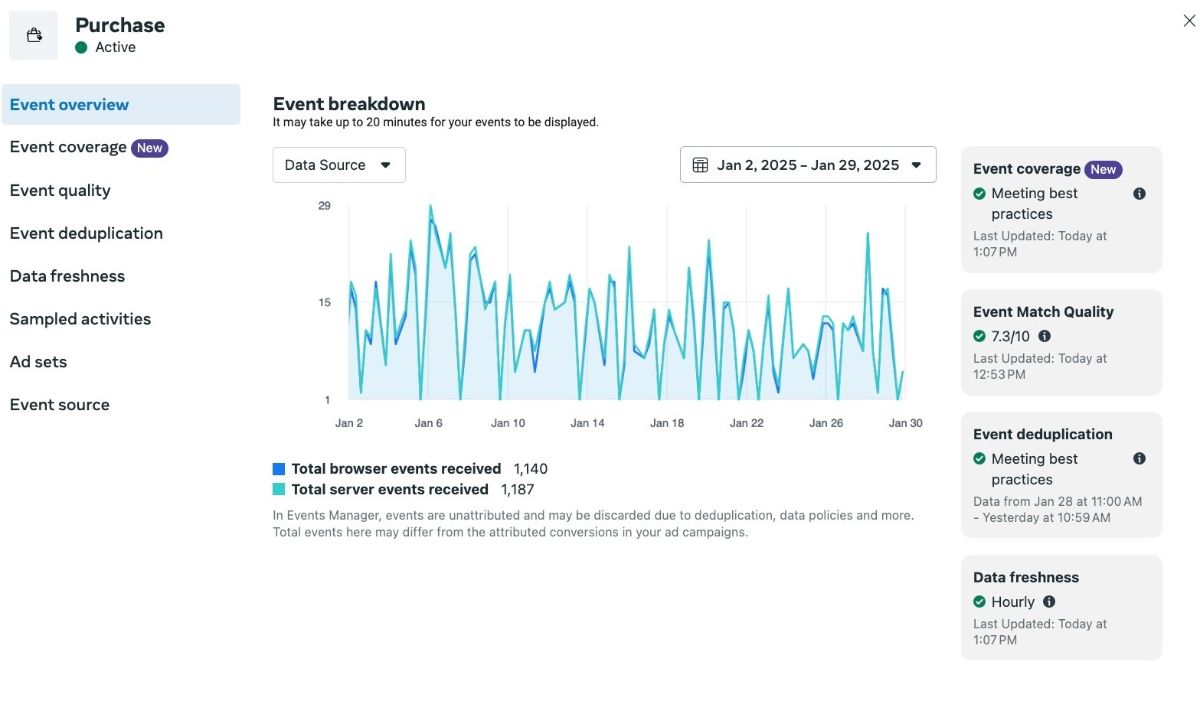
Verify Your Setup in Meta Events Manager
Once Meta server-side integration is complete, you should verify that the data is flowing correctly. You can monitor the data flow in Meta Ads Manager by following these steps:
- Go to Events Manager and select your Pixel.
- Navigate to the Overview section.
- Scroll down to view event activity .
- Click on an event (e.g., Purchase ) and select View Details > Event Overview .
- Check both Server and Browser event statuses.
- Repeat the same steps to check the Pageview event.
Meta Event Match Quality (EMQ)
Meta Event Match Quality (EMQ) scores are determined based on the percentage and number of Customer Information parameters sent via server-side along with the relevant events and whether these parameters match users in Meta's database.
Analyzify sends 7 different events via server-side, some triggered at the Storefront stage and others at the Checkout pages. Here are the parameters we access depending on the situation:
| Data Type | Collection Scope |
| Only for logged-in users on Storefront & Checkout | |
| IP Address | Both Storefront & Checkout |
| User Agent | Both Storefront & Checkout |
| Phone Number | Only for Checkout |
| Browser ID (fbp) | Both Storefront & Checkout |
| External ID | Both Storefront & Checkout |
| ZIP Code | Both Storefront & Checkout |
| Country | Both Storefront & Checkout |
| First Name | Only for logged-in users on Storefront & Checkout |
| Last Name | Only for logged-in users on Storefront & Checkout |
| City | Both Storefront & Checkout |
| State | Both Storefront & Checkout |
| Click ID (fbc) | Both Storefront & Checkout |
Some of these parameters are more important for Meta to identify users(EMQ score), such as email, phone, and fbc parameters. Let’s take a closer look at these parameters:
- Email : If users are logged in, it is sent to Meta with all events. If they are not logged in, it is sent with only the Add Payment Info and Purchase events.
- Phone : This parameter is sent to Meta only with the Add Payment Info and Purchase events.
- Fbc : This parameter is generated by Meta and attached to ads. It is transferred to your store along with the ad URL clicked by users. Whether this parameter is sent or not depends on whether the user lands via a Meta ad in that session.
Due to the reasons mentioned above, it is normal for events at the Checkout pages to have higher EMQ values and for Storefront events to have lower EMQ values.
📢 Our team conducts a validation process similar to client-side integration testing to ensure accurate data flow if you need.
If you want to learn more about the topic, please read further:
If you want to learn more about Meta (CAPI) and how to improve event match quality (EMQ), read further on Analyzify Hub:
