Using native integration is quite an easy way to benefit from Facebook Pixel. Follow the instructions below to set your own in no time:
Step 1
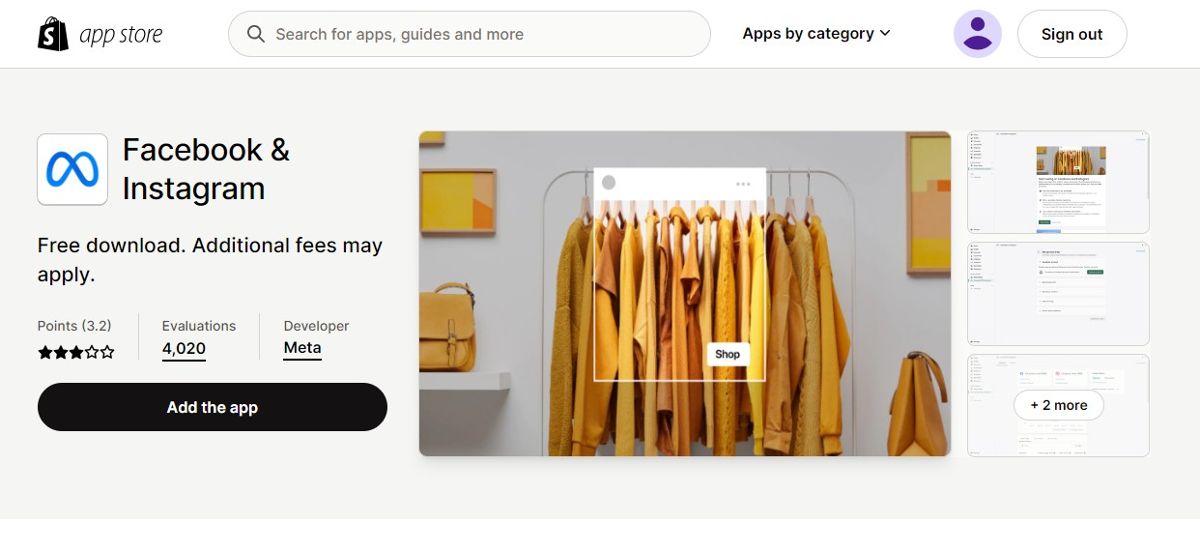
Go to Shopify App Store
Go to the Shopify app store and search for Facebook app. Once you find it, click on the “Add app” button.

Step 2
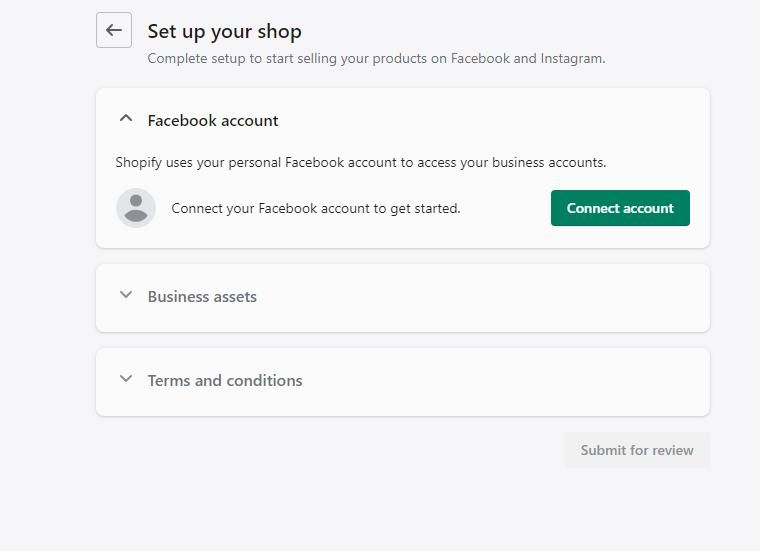
Connect Your Facebook Account
Click “Connect account” and you will be asked to log in to your Facebook account.

Step 3
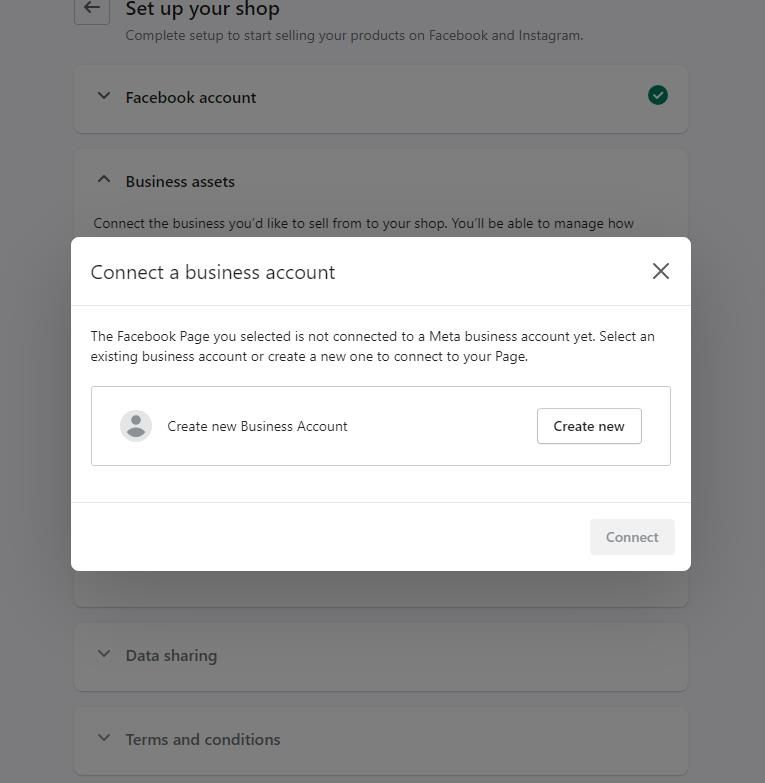
Create a New Business Account
Choose a business account to use for your Shopify store. You can either create a new business account or choose an existing one from the list.

Step 4
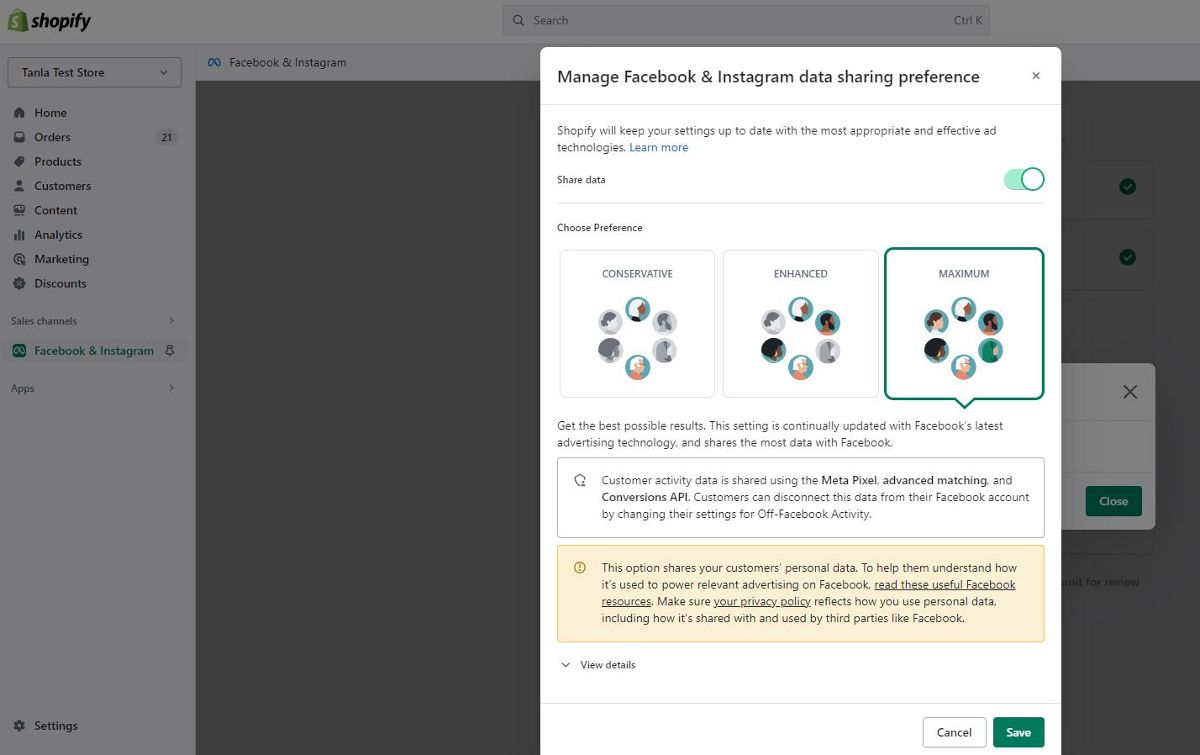
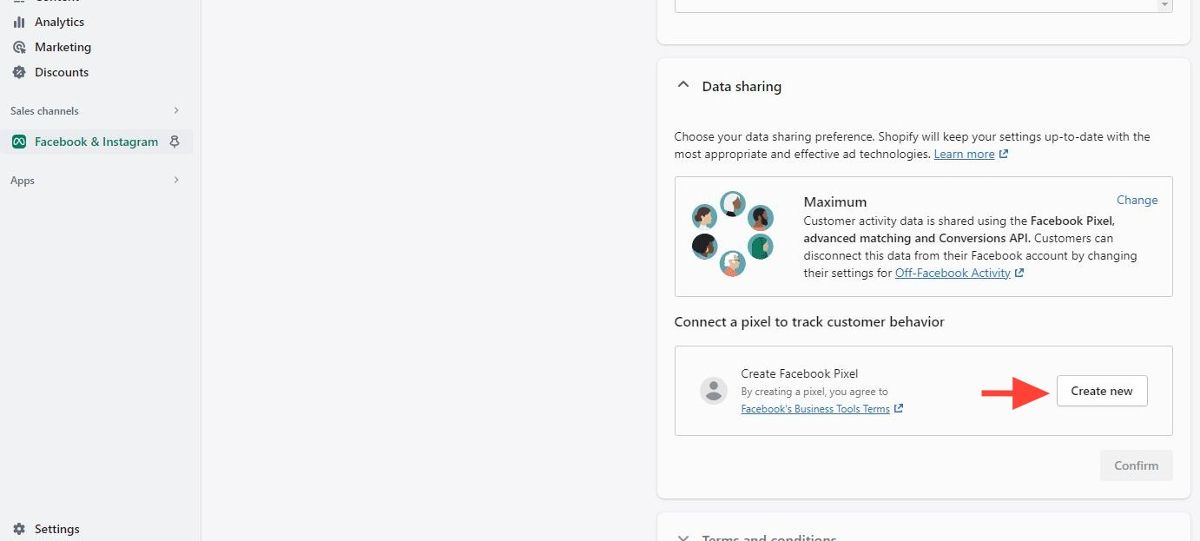
Set Up Data Sharing Settings
You can choose from three levels of data sharing: Standard, Enhanced, or Maximum. Make sure you choose MAXIMUM so that all the possible data can be shared. After that click on "Save".

Step 5
Connect Your Pixel and Catalog
If you don’t have a pixel or a catalog, the app will make them for you. You can also choose to use an existing pixel or catalog if you have them. To connect, simply select from the drop-down menus and click on “Save”.
Step 6
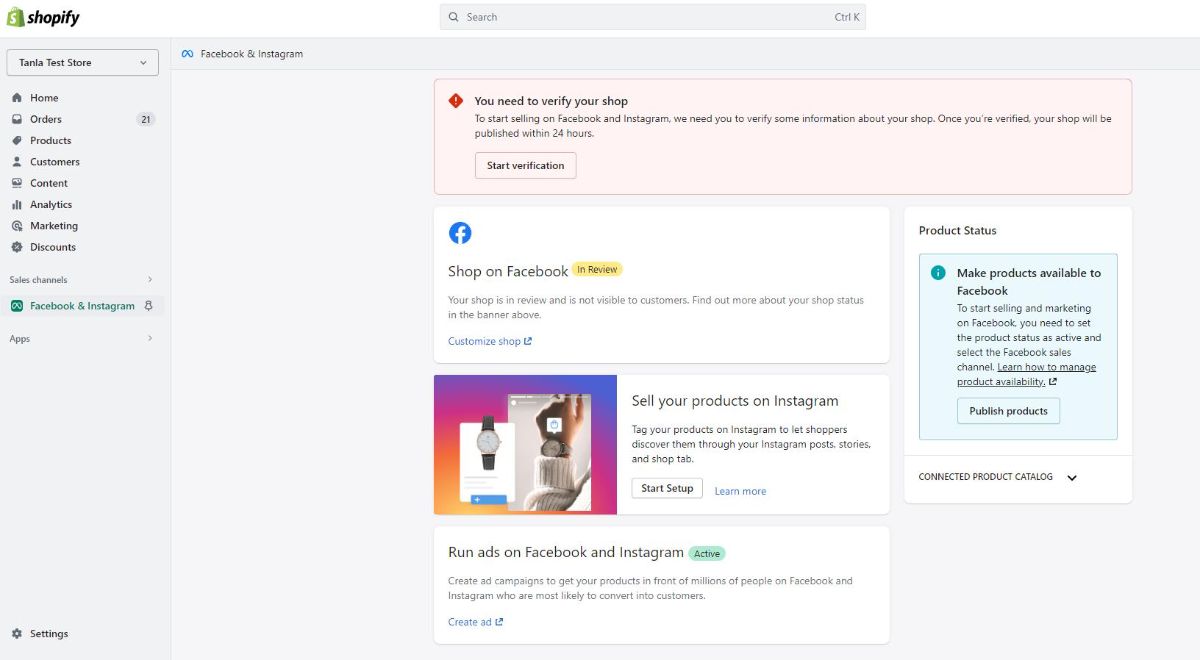
Verify Your Shop
The final step is to verify your shop domain with Facebook.
Your Facebook Pixel and Conversion API (CAPI) set up on the Shopify end is almost done. Now we need to make an important setting on Facebook's Events Manager as well.
Step 7
Add Meta Tag to Shopify
To verify your domain, you will need to add a meta tag to your Shopify store’s theme code. The app will provide you with the meta tag and instructions on how to add it. Once you add it, click on “Verify” and wait for the confirmation message.

Step 8
Test Your events
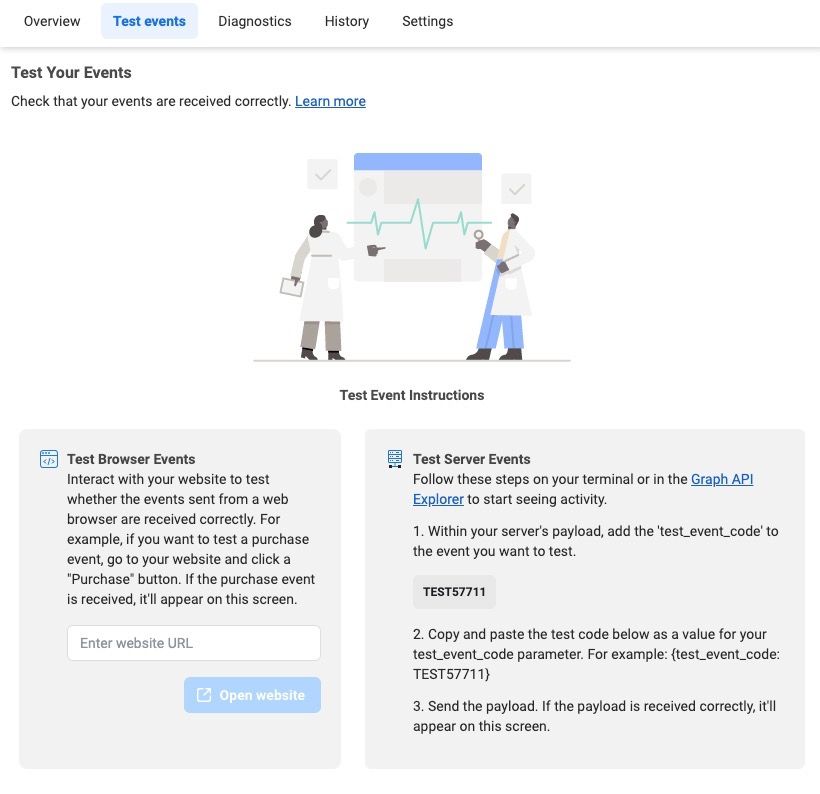
You can also check the data coming from the validation domain. To check your events, go to the Test Events section.
Enter your domain name here and test your events by interacting with your website.
Step 9
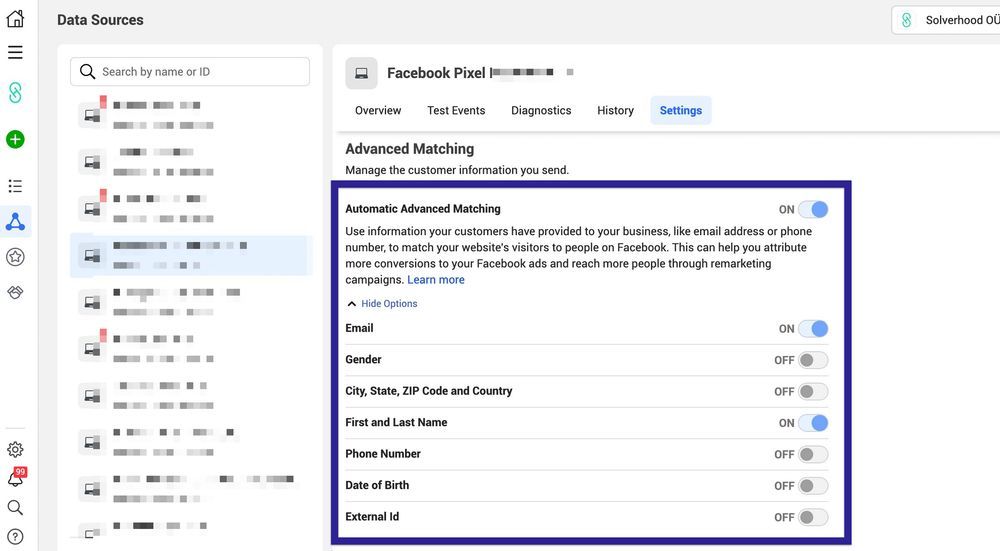
Automated Advance Matching
Log in to FB Pixel, then go to "Settings" > "Automated Advanced Matching". Re-adjust the settings that are already in use. Make sure you set all of the fields (from E-mail to External ID) ON.
Automatic Events in Facebook Pixel
Automated events refer to those that the Facebook (Meta) Pixel tries to detect automatically on your website. You'll see a notification in Events Manager if an event is detected on your site.
If you have multiple event-triggering notifications displayed during click events, such as add to cart, you can disable the " Track events automatically without code " feature in the Settings section of the relevant pixel.
To enable or disable this feature, just click to toggle ON or OFF the "Track events automatically Without code" within Event setup.
