If your Analyzify dashboard is showing a recommendation to add the Analyzify Pixel, this article explains what it is, why we are asking you to add it, and how to do it.
What is the Analyzify Pixel?
Analyzify uses Shopify's Customer Events section to manage tracking pixels. In the past, each platform you connected, such as Google Analytics 4 or Google Ads, had its own separate pixel added to Customer Events.
The Analyzify Pixel replaces all of these with a single unified pixel. One pixel handles tracking across all your connected platforms. New Analyzify customers start with this setup by default. If you are seeing this recommendation, it means your store was set up before this change, and adding the pixel will bring your tracking up to date.
What changes after adding it?
The platforms you track and the data you collect stay the same. The difference is that instead of multiple separate pixels in your Customer Events section, everything runs through one.
This makes your setup easier to manage and maintain going forward.
Is my setup standard? Can I go ahead?
Most stores can add the Analyzify Pixel without any issues.
A standard setup means the Analyzify pixel code in your Customer Events section is the default code provided by Analyzify, with no store-specific modifications. If your store was set up through our standard onboarding process, this is most likely the case and you can go ahead.
If you know that custom changes were made to the Analyzify code in your Customer Events page, for example modifications added by our team or a developer for your specific store, please contact us before proceeding. We will make sure those customizations are included.
If you are not sure, just reach out and we will check for you.
One thing worth noting: any other pixels or customizations you have added to Customer Events independently, outside of Analyzify, are not affected by this at all. You do not need to change or remove anything else.
How do I add the Analyzify Pixel?
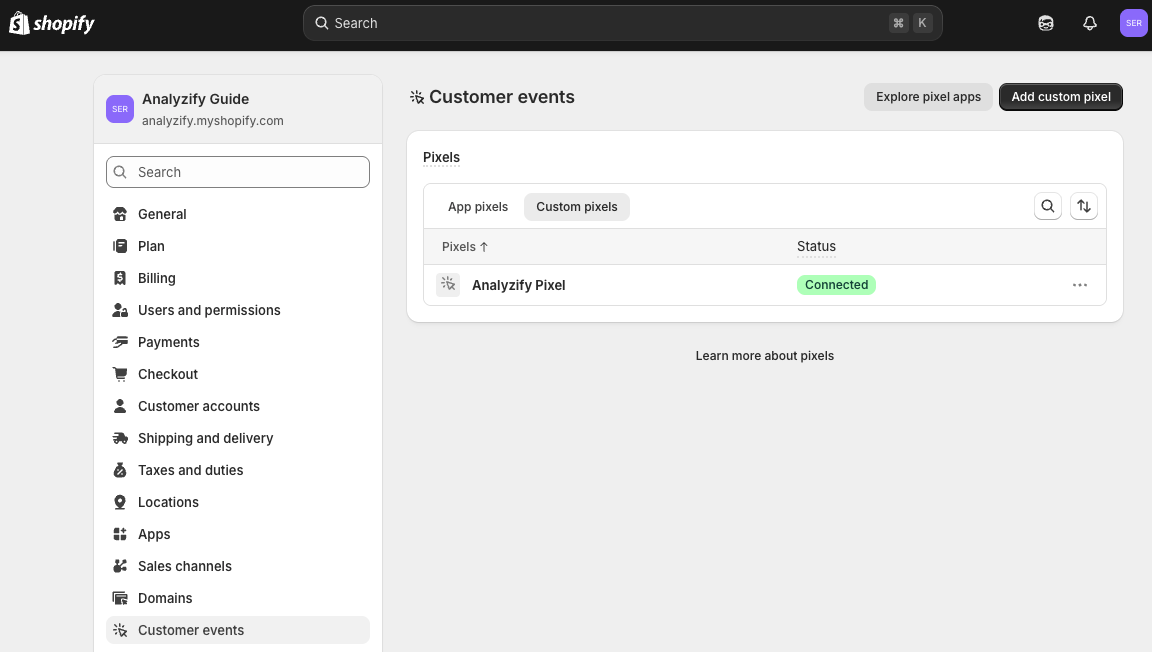
- In your Shopify Admin, go to Settings > Customer Events .
- Click Add custom pixel and name it Analyzify Pixel .
- Under Customer Privacy, set the permission to Not required .
- Copy the pixel code from your Analyzify dashboard and paste it into the code field.
- Click Save , then Connect .
- Do not forget to disconnect your legacy Analyzify Pixels.
The process takes about 5 minutes. No coding knowledge is required.
Once connected, Analyzify will automatically check whether the pixel is active and update your dashboard once it is confirmed. Verification can take a few minutes, so if your status does not update right away, you do not need to do anything. We check in the background continuously.
Still need help?
If you are not sure whether your setup is standard, or if you ran into an issue, contact our support team. We are happy to review your setup and guide you through the process.
